meta data for this page
This is an old revision of the document!
A Fantastic Free and Opensource Web Hosting Control Panel https://hestiacp.com
Admin Level
Install PHP Mods
These modules are not installed as part of the default HestiaCP Install
- Login as root:
apt install php-intl php-imap php-mailparse php-curl -y
Create User
- Login to HestiaCP as admin https://host.yourdomain.ext:8083
- Create Normal user with bash shell access - it defaults to no login

- Logout as admin Login as newly created user

User Level
Create Web Domain
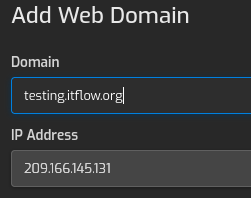
- Click Create Web Domain
- Enter your FQDN - for example itflow.mycompany.com

- Click Save
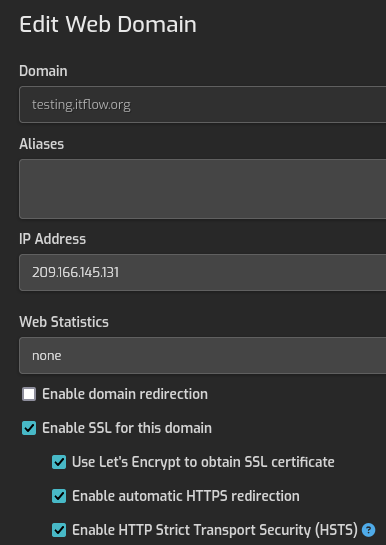
- Edit the newly created Web Domain
- Click Enable SSL for this domain and the 3 options under it should be checked as well.
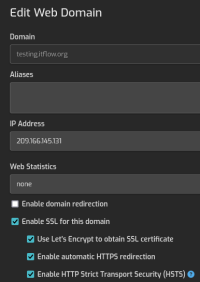
- Use Let's Encrypt to obtain SSL certificate
- Enable automatic HTTPS redirection
- Enable HTTP Strict Transport Security (HSTS)
- Click Save
Create Database
- Click DB

- Click Add Database
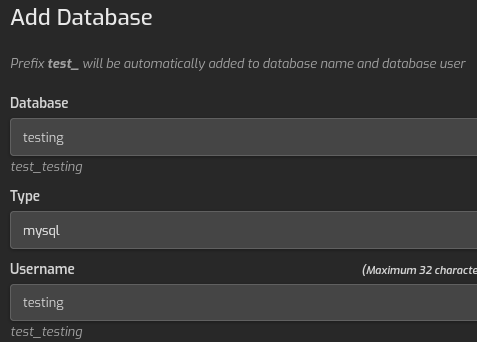
- Name the database
- create username for database you can use the same name as the database name for simplicity
- make a secure password

- Click Save

Pull down ITFlow install files
- Login with your new user via ssh - ssh username@host.domain.ext
- Change to Web root Directory
cd /home/[USERNAME]/web/[HOST.DOMAIN.EXT]/public_html - Delete HestiaCP automatic created files rm * - This will delete index.html and robots.txt
- Install ITFlow files via git -
git clone https://github.com/itflow-org/itflow.git .- Do not forget the . at the end
Follow Web Install Process
Setup Cron Jobs
- Log back into HestiaCP
- Click Cron
- Add the Cron Jobs in the documentation here