meta data for this page
This is an old revision of the document!
A Fantastic Free and Opensource Web Hosting Control Panel https://hestiacp.com
Admin Level
Install HestiaCP
- Install without Mail, DNS and Apache (Nginx will be used instead) This will provide the most ultimate performance for ITFlow
Install PHP Mods
These modules are not installed as part of the default HestiaCP Install
- Login as root:
apt install php-intl php-imap php-mailparse php-curl -y
Tweaks
- Click Users > Packages > Edit Default Package
- Set Backups to something other than the default 1 - 7 to 14 is a good practice
- Set SSH Access from nologin to bash
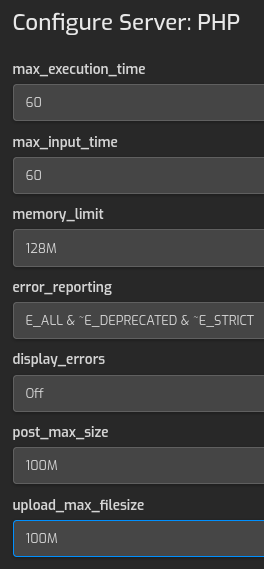
- PHP Settings Default to the following - Click gear icon top right > Click on php8.2-fpm
- MariaDB Settings - Click gear icon top right > Click on mariadb

Create User
- Login to HestiaCP as admin https://host.yourdomain.ext:8083
- Create Normal user with bash shell access - it defaults to no login

- Logout as admin

User Level
Create Web Domain
- Login as newly created user
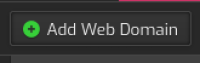
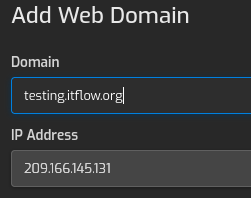
- Click Create Web Domain
- Enter your FQDN - for example itflow.mycompany.com

- Click Save
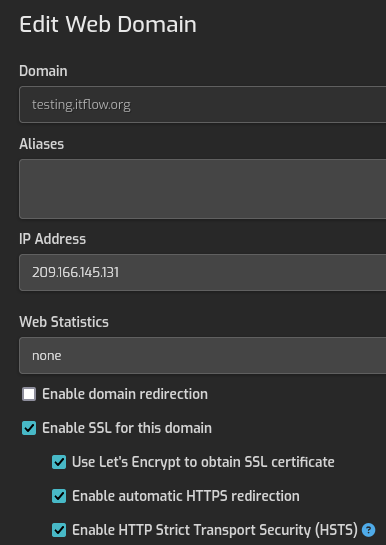
- Edit the newly created Web Domain
- Click Enable SSL for this domain and the 3 options under it should be checked as well.
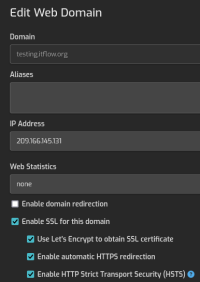
- Use Let's Encrypt to obtain SSL certificate
- Enable automatic HTTPS redirection
- Enable HTTP Strict Transport Security (HSTS)
- Click Save
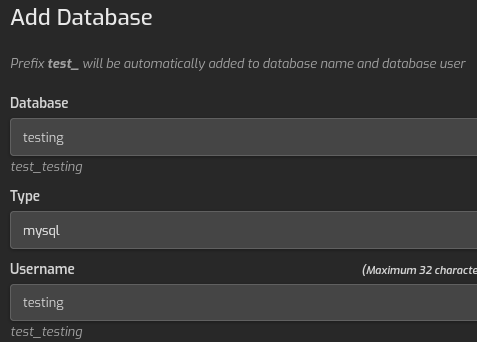
Create Database
- Click DB

- Click Add Database
- Name the database
- create username for database you can use the same name as the database name for simplicity
- make a secure password

- Click Save

Pull down ITFlow install files
- Login with your new user via ssh - ssh username@host.domain.ext
- Change to Web root Directory
cd /home/[USERNAME]/web/[HOST.DOMAIN.EXT]/public_html - Delete HestiaCP automatic created files
rm *- This will delete index.html and robots.txt - Install ITFlow files via git -
git clone https://github.com/itflow-org/itflow.git .- Do not forget the . at the end
Follow Web Install Process
Setup Cron Jobs
- Log back into HestiaCP
- Click Cron
- Add the Cron Jobs in the documentation here